
| Previous (The Swap Partition) | Up (Index) | Next (Selecting The Source) |
This step involves telling setup exactly where we wish to install Linux and configuring your other partitions. If you recall, I created 2 partitions using fdisk, so I will need to configure both of them. If you only create one Linux partition, then you only need to configure that one.
Setup will scan your drives and auto-detect the available Linux partitions, resulting in a screen similar to this:

In this case I will use the larger partition for the main Slackware installation. Next you will be asked if you wish to format the partition. Since I just created the partition, I will need to format it prior to use.
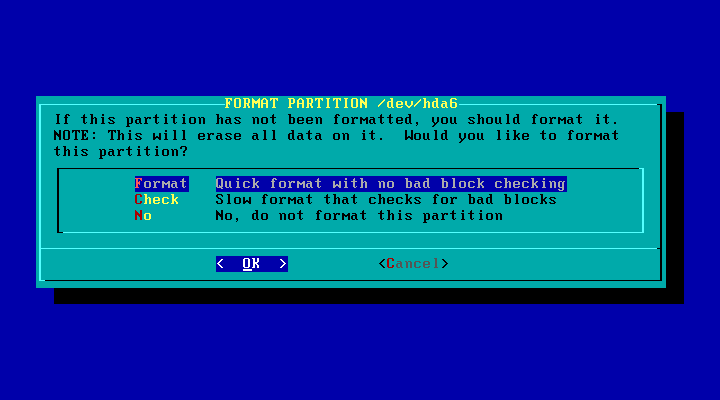
Next we must decide which filesystem to use on this partition.
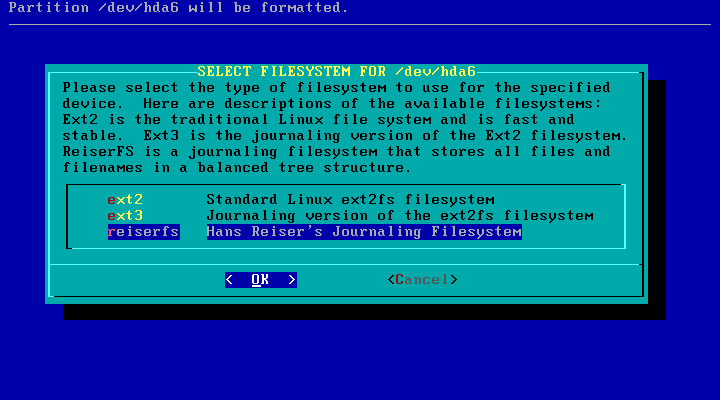
The ext2 filesystem has been around for a very long time. It was the first filesystem supported by Linux, but suffers from one major problem. In rare cases, it can be corrupted, such as during a sudden power loss or system crash. When this happens, a repair process can normally fix the filesystem and return it to a healthy condition. Unfortunately, the repair can take a long time depending on the size of the disk and how badly it was corrupted. In addition, this filesystem periodically forces a scan and repair during reboots, which of course slows things down.
The ext3 filesystem is a more advanced version of ext2 which attempts to prevent filesystem corruption from ever occurring. It uses a journal, or transaction log, to record changes to a special file just before modifying a disk. This way if there is a sudden power loss or crash, the journal can be read and the filesystem can either be returned to its last good state, or perhaps the changes can be completed later. This means you generally never need to repair or even scan the filesystem for errors.
The reiserfs is a totally new filesystem that stores data using an advanced indexing scheme based on the b-tree alogrithm. In theory it is faster at storing many small files than the other filesystems. It is also uses a journal to prevent disk corruption. At one time I heard some people complain that reiserfs was unstable, but I've been using it since mid-2001 with no problems at all. Slackware now defaults to this filesystem, so I recommend using it.
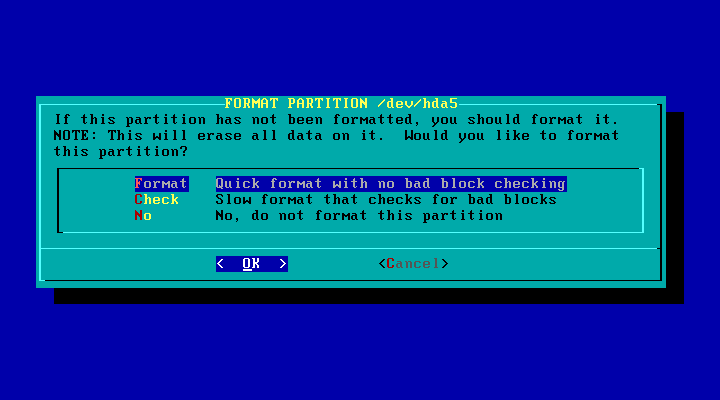
Once you make your selection, the partition will be formatted. If you only have one Linux partition, you will not see the next couple of screens. Since I created 2 Linux paritions, I was presented with this screen next:

Now I must again decide if I want to format this partition. If this partition
was previously used by another installation of Linux, you may not want to format
it, since that would destroy all the data on the disk. In the past I have skipped
formatting some drives and/or partitions when upgrading or repairing a corrupted
Slackware installation. This is another good reason to make a separate partition
just for the /home directory.
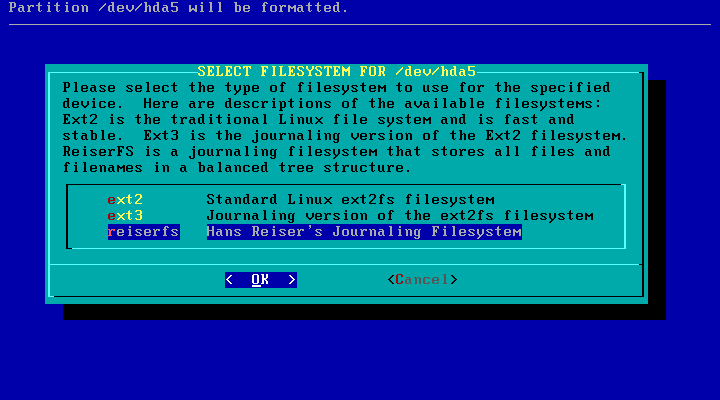
And of course, I must again decide upon the filesystem to use:
Once the partition is formatted (or if you skipped formatting) you will see the
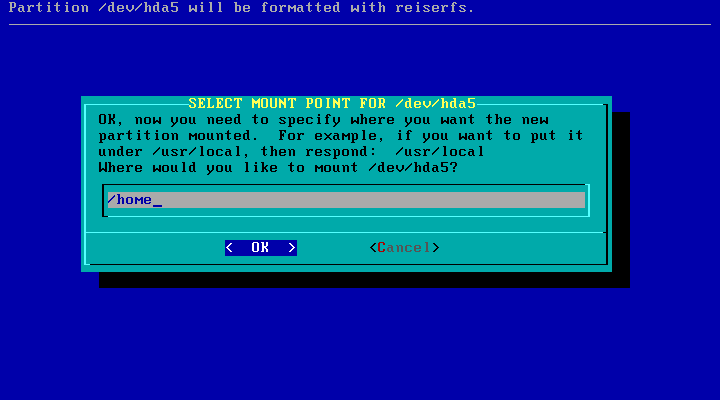
following screen next. We have to decide which directory to connect to this partition.
This is called defining a mount point. In this case I want to connect /dev/hda5
to the directory called /home.
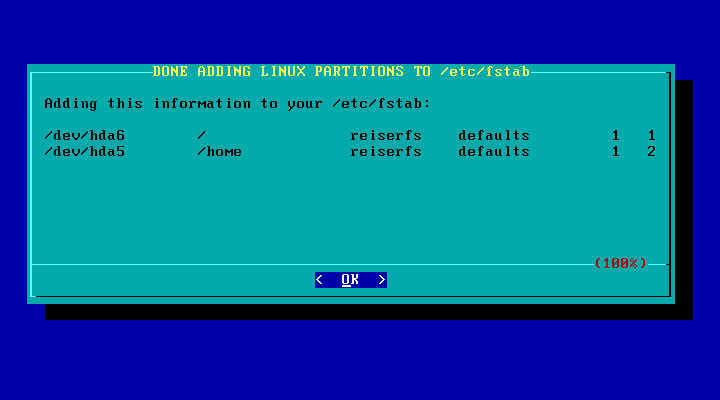
Now that I have configured all the available Linux partitions, setup will inform me of the mount points defined so far in a summary screen as shown below:
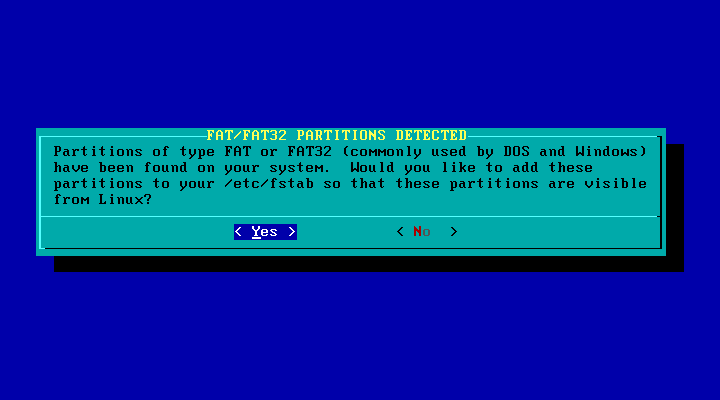
Next, setup will scan your hard disk for any FAT partitions. FAT is the filesystem used by both MS-DOS and older versions of Windows. If any are found, you will be asked if you want to define a mount point for those partitions as well.
NOTE: NTFS partitions will not be detected during this check. Linux does offer limited support for mounting NTFS partitions, but that must be done manually after the installation process is completed. The Slackware developers removed the auto-detection of NTFS partitions because it often confused NTFS and HPFS filesystems and in some cases corrupted data. Better safe than sorry!
It is handy to define a mount point for FAT partitions if you have files you created while running Windows that you wish to access when running Linux. Most word processing documents, graphics images, and other data files can be used from within Linux even though they were created under Windows. You will not be able to run any Windows programs, but you can at least access your files if you do this. If you answer Yes to the question above you will see a screen similar to this:

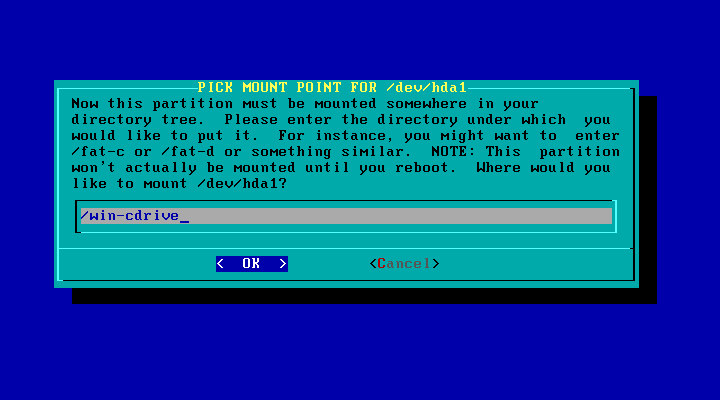
When you select the FAT partition, you are then asked to define a mount point.
In the following screen I decided to connect the /dev/hda1 partition to
a directory named /win-cdrive.
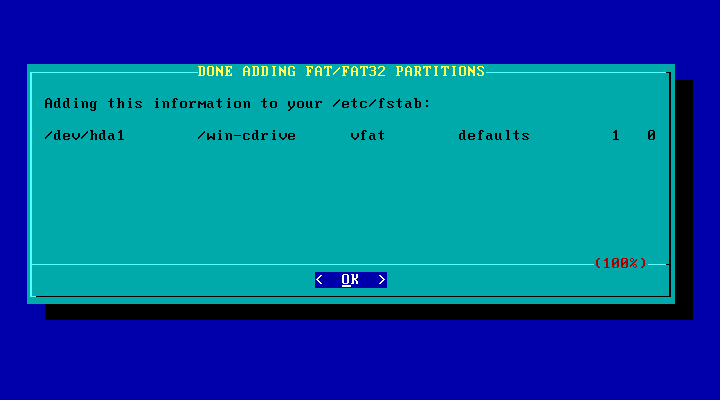
If you have multiple FAT partitions (or drives) you can repeat the above steps to define a mount point for each. Since I only have one FAT partition, the next screen summarizes the FAT mount point(s):
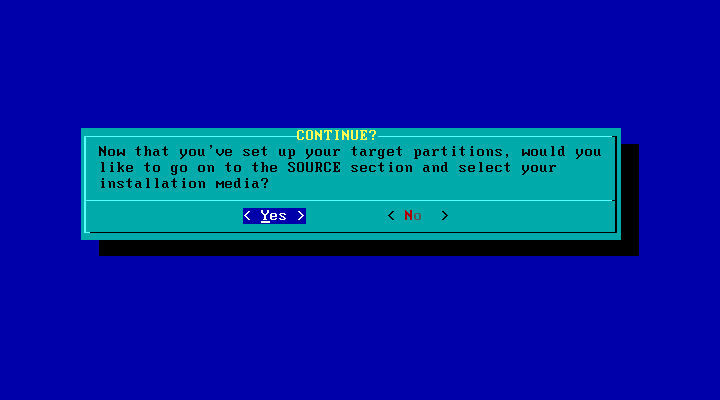
Now that I have setup all the Linux and FAT partitions available, I will be asked if I wish to proceed to the next step in the installation process:
| Previous (The Swap Partition) | Up (Index) | Next (Selecting The Source) |